Understanding the Smirk Teeth Whitening Kit
Are you dreaming of a brighter, more confident smile? The Smirk Teeth Whitening Kit has emerged as a popular at-home solution for achieving just that. But what exactly is the Smirk kit, and how does it promise to transform your pearly whites? This comprehensive guide delves into everything you need to know about the Smirk Teeth Whitening Kit, from its components and the science behind it to step-by-step instructions and tips for maximizing your results. Prepare to unlock the secrets to a dazzling smile and discover how the Smirk kit can help you achieve the smile you’ve always desired. We will also see real-world examples of the power of this kit and what makes it different from the competition.
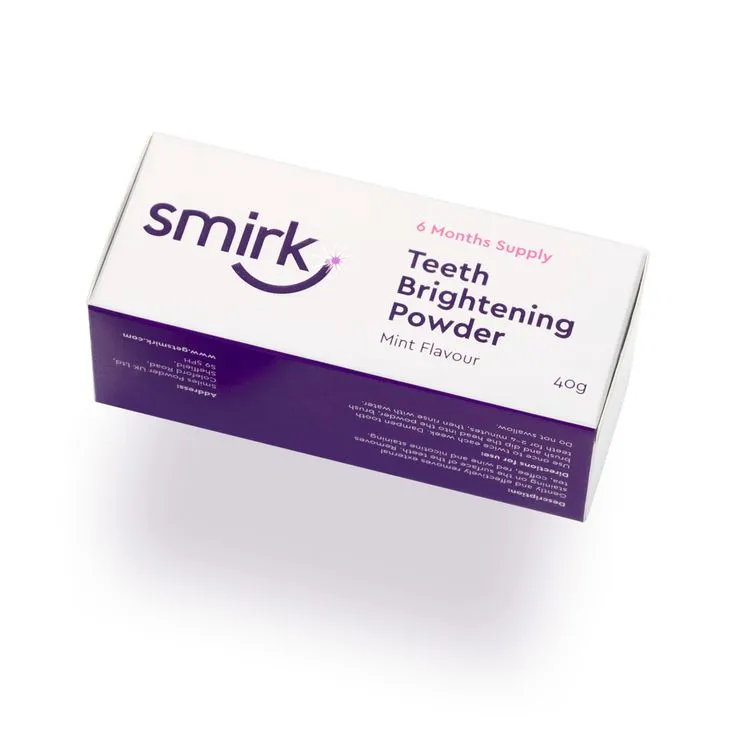
What’s Included in the Smirk Kit
Before you embark on your teeth-whitening journey, it’s essential to know what’s included in the Smirk kit. Typically, a standard Smirk kit contains several key components designed to work synergistically. These include a set of pre-filled whitening gel syringes, a mouthpiece or tray, and an LED light device to accelerate the whitening process. You’ll also find a detailed instruction manual that guides you through the entire procedure. Some kits might also include a shade guide to help you track your progress and assess the effectiveness of the treatment. Understanding these components is the first step towards successful and safe teeth whitening. Also, make sure to check the product description to see the quantity of whitening gel syringes, as this will determine how many sessions you can have.
The Science Behind Smirk Whitening

The effectiveness of the Smirk Teeth Whitening Kit hinges on the science of teeth whitening. The primary active ingredient in the whitening gel is usually hydrogen peroxide or carbamide peroxide. These peroxides break down into oxygen molecules, which penetrate the enamel and dentin of your teeth. These oxygen molecules then react with the stain-causing molecules, breaking them apart and lifting them, resulting in a brighter appearance. The LED light, often included in the Smirk kit, emits a specific wavelength of light that is believed to accelerate this chemical reaction. By understanding this underlying science, you can better appreciate how the Smirk kit achieves its whitening results and how to use it properly for optimal outcomes. This process is effective for removing stains from coffee, tea, wine, and other common culprits of tooth discoloration.
How to Prepare for Using the Smirk Kit
Proper preparation is key to maximizing the effectiveness and safety of the Smirk Teeth Whitening Kit. Before you start, brush your teeth thoroughly to remove any surface debris and plaque. It’s crucial to floss your teeth as well to ensure there is no food particles in your mouth. Next, dry your teeth with a clean cloth or paper towel. This ensures the whitening gel can adhere effectively. Inspect your teeth and gums for any pre-existing conditions, such as cavities or gum disease. If you have any dental issues, consult your dentist before using the kit. Taking these steps beforehand will help you achieve better results and a more comfortable whitening experience. Also, read the instructions carefully before starting the procedure.
Step-by-Step Guide to Using Smirk Kit
Using the Smirk Teeth Whitening Kit is a straightforward process when you follow the instructions. However, precise steps are necessary to ensure optimal results and minimize the risk of any side effects. Here is a detailed step-by-step guide to help you achieve the best outcome.
Step 1: Preparing Your Teeth

As mentioned earlier, start by brushing your teeth for about two minutes to remove any surface stains or debris. Floss gently to eliminate any food particles between your teeth. Rinse your mouth with water, ensuring no toothpaste residue remains. Once your mouth is clean, dry your teeth with a clean cloth or paper towel. This will help the whitening gel adhere to your teeth more effectively.
Step 2: Applying the Whitening Gel
Carefully remove the pre-filled whitening gel syringe from the kit. Apply a thin layer of gel to the outer surfaces of your teeth, making sure to avoid the gums as much as possible. The gel is generally applied to the visible parts of your teeth, those that are most noticeable when you smile. A little gel goes a long way, so avoid overfilling the tray. Make sure you cover all the teeth. Some kits come with applicators for precise and easier use.
Step 3: Using the LED Light
Insert the mouthpiece or tray into your mouth, making sure your teeth are fully covered with the whitening gel. Activate the LED light device according to the instructions provided. The light will help accelerate the whitening process. Keep the tray in your mouth for the recommended time, as specified in the kit instructions, usually between 10 and 30 minutes. Relax during this process, and avoid moving the tray around in your mouth.
Step 4: Rinse and Repeat

After the recommended time, remove the mouthpiece and rinse your mouth thoroughly with water. Brush your teeth gently to remove any remaining gel. Clean the mouthpiece with lukewarm water and let it air dry. Repeat this process daily or as directed by the kit instructions, typically for several days or weeks, to achieve the desired whitening results. Always follow the instructions in the kit, and monitor your teeth for any sensitivity.
Maximizing Your Whitening Results
To achieve the best results with your Smirk Teeth Whitening Kit, you should use it regularly, following all the instructions. However, several additional steps can enhance your results. The key is consistency and patience. Do not try to use the product multiple times a day, as it can harm your teeth. Make sure that you eat a healthy diet and are practicing good oral hygiene. Avoiding foods and drinks that cause stains can also help maintain your new, bright smile. Take into consideration your personal condition, as your teeth are unique and will react differently to the product.
Tips for Best Results
To maximize the effectiveness of the Smirk kit, consider these additional tips. Brush and floss your teeth before each whitening session to remove any surface debris. Be patient and consistent with your treatments; results may take several days or weeks to become fully visible. Avoid eating or drinking highly pigmented foods and beverages, such as coffee, tea, and red wine, during and after whitening sessions. Stay hydrated by drinking plenty of water to help keep your teeth clean and your mouth healthy. Finally, take before-and-after photos to track your progress and celebrate your results. These photos will show the impact of the product and prove the investment was worth it.
Dietary Considerations for Whiter Teeth

Your diet plays a significant role in maintaining a brighter smile. To complement your teeth-whitening efforts, limit your consumption of staining foods and drinks, such as coffee, tea, red wine, and dark-colored berries. Increase your intake of teeth-friendly foods, such as crunchy fruits and vegetables (apples, celery) that help remove surface stains. Dairy products (milk, cheese) can help strengthen enamel and protect against staining. Drinking plenty of water throughout the day helps rinse away food particles and prevent stains from setting in. By making smart dietary choices, you can help keep your teeth whiter for longer, enhancing the effects of the Smirk kit.
Avoiding Common Mistakes
To ensure the safety and effectiveness of your teeth-whitening experience, avoid common mistakes. Do not overuse the kit, as excessive whitening can lead to increased tooth sensitivity. Do not use the kit if you have pre-existing dental issues, such as cavities or gum disease, without consulting your dentist. Avoid swallowing the whitening gel. Apply the gel carefully, staying away from your gums to prevent irritation. If you experience any significant sensitivity, stop using the kit and consult your dentist. Following these tips will help you avoid these pitfalls and enjoy a more successful and comfortable teeth-whitening journey.
Maintaining Your Bright Smile
Once you’ve achieved your desired level of whiteness with the Smirk kit, it’s important to maintain your bright smile. This involves a combination of good oral hygiene, regular dental check-ups, and mindful lifestyle choices. Consistent efforts will help ensure that your teeth remain radiant for a long time.
Post-Whitening Care

After completing a whitening session, take care to protect your newly whitened teeth. Avoid consuming staining foods and drinks for at least 24 hours after each treatment. This includes coffee, tea, red wine, and dark-colored sauces. Practice gentle brushing and flossing to avoid irritating your gums. Use a desensitizing toothpaste if you experience any sensitivity. Stay away from smoking. This will not only prevent staining but also protect your oral health. These steps will help you to safeguard your new smile and keep it looking its best.
How Often Should You Whiten
The frequency of using the Smirk kit varies depending on your initial tooth shade, your desired level of whiteness, and your lifestyle habits. Most kits suggest an initial course of treatments, followed by occasional touch-up sessions to maintain your results. Generally, use the kit according to the instructions on the package, and do not overuse it. If you consume staining foods or drinks frequently, you might need more frequent touch-up treatments. Always monitor your teeth for any signs of sensitivity or irritation. If any issues arise, reduce the frequency of treatment or consult your dentist. Remember that moderation is key, and consistent care is the most sustainable approach to achieving and maintaining a dazzling smile.
Smirk Teeth Whitening Kit Before and After Results
One of the best ways to assess the effectiveness of the Smirk Teeth Whitening Kit is by examining the results of those who have used it. Many users report noticeable improvements in the brightness of their teeth after a few days or weeks of use. Before-and-after photos showcase the transformation, illustrating how the kit removes stains and enhances the overall appearance of the smile. The degree of whitening varies depending on individual factors such as the initial shade of the teeth and lifestyle habits. However, numerous users have reported positive experiences, achieving a brighter, more confident smile. It’s important to manage your expectations and understand that results vary.
Smirk Teeth Whitening Kit Pros and Cons

Like any teeth-whitening product, the Smirk kit has its advantages and disadvantages. Understanding these can help you make an informed decision about whether it is the right choice for you. Weighing these aspects is an essential part of the decision-making process, ensuring you have realistic expectations and a clear understanding of the potential outcomes.
Pros of Using Smirk Kit
- Convenience: The kit is easy to use at home, eliminating the need for dental appointments.
- Affordability: Compared to professional whitening treatments, the Smirk kit is a more budget-friendly option.
- Effectiveness: Many users report noticeable whitening results within a few weeks of use.
- Ease of Use: The kit comes with clear instructions, making it simple for anyone to follow.
- Improved Confidence: A brighter smile can boost self-esteem and improve your overall confidence.
Cons of Using Smirk Kit
- Sensitivity: Some users may experience temporary tooth sensitivity or gum irritation.
- Not for Everyone: The kit may not be suitable for individuals with existing dental issues or extremely stained teeth.
- Results Vary: The degree of whitening varies depending on the individual and the type of stains.
- Potential for Overuse: Overuse of the kit can damage the enamel.
- Not a Permanent Solution: The whitening effects are not permanent and require touch-up treatments.