Understanding LED Laser Teeth Whitening Light
LED laser teeth whitening light has revolutionized the way people approach teeth whitening, offering a convenient and effective method to brighten smiles from the comfort of home or in a professional setting. This technology combines the power of a specially formulated whitening gel with the accelerating effect of an LED (light-emitting diode) or laser light. The light helps to activate the whitening agents in the gel, breaking down stains and discolorations that have accumulated on the surface of your teeth. The process is generally safe, painless, and can deliver significant results within a single session or a few treatments, depending on the severity of the staining and the product used. Understanding how it works is the first step towards achieving a dazzling white smile.
How LED Laser Whitening Works
The fundamental principle behind LED laser whitening light is quite straightforward but incredibly effective. The process usually begins with the application of a hydrogen peroxide or carbamide peroxide-based whitening gel to the teeth. The LED or laser light then shines onto the teeth, which accelerates the chemical reaction of the whitening agent. This accelerated process causes the oxygen molecules from the whitening agent to penetrate the enamel and dentin of the teeth, breaking down stain-causing molecules. This action doesn’t damage the tooth structure; it simply removes the stains, leaving a brighter, whiter tooth surface. The intensity and duration of the light exposure are carefully controlled to ensure the safety and effectiveness of the treatment. Most kits also come with mouth retractors to keep your lips away from your teeth, making the whole process easier.
The Benefits of LED Laser Teeth Whitening

The advantages of using an LED laser teeth whitening light are numerous, making it a popular choice for those seeking a brighter smile. One of the most significant benefits is the speed at which results are achieved; often, noticeable whitening can be seen after just one treatment. This is much faster than many other whitening methods. In addition, the treatment is generally considered safe and painless, with minimal side effects, such as temporary tooth sensitivity. LED laser whitening is often less expensive than professional treatments. It provides a convenient way to whiten your teeth in the comfort of your home, saving time and money. Finally, the effectiveness of this method is proven, with many users experiencing dramatic improvements in the whiteness of their teeth, leading to increased confidence and a more youthful appearance.
Step-by-Step Guide to Using LED Laser Teeth Whitening Light
Using an LED laser teeth whitening light at home can be a straightforward process if you follow the instructions carefully. It’s essential to read and understand the specific guidelines provided with your kit, as procedures may vary slightly depending on the brand. However, the general steps remain the same. This guide provides a comprehensive overview of the process, from preparation to aftercare, ensuring that you can achieve the best possible results while prioritizing the safety and health of your teeth. Remember to consult with your dentist before starting any teeth whitening treatment, especially if you have sensitive teeth or any existing dental work.
Preparation Before Whitening
Before starting the whitening process, several preparatory steps can optimize your results and minimize potential side effects. First, brush your teeth thoroughly to remove any food particles or debris. Use a soft-bristled toothbrush and a mild toothpaste. Ensure your teeth are dry before applying the whitening gel, as moisture can dilute the gel’s effectiveness. Many kits include a mouth retractor, which helps to keep your lips away from your teeth and the whitening gel. It’s also advisable to have a mirror and a timer readily available to monitor the treatment duration. If you have sensitive teeth, consult your dentist about using a desensitizing toothpaste for a few weeks before and during the whitening process. These preparations are critical to ensure the whitening process is effective, comfortable, and safe.
Step 1 Apply Whitening Gel

Carefully apply the whitening gel to the surface of your teeth. The gel is typically provided in a syringe or applicator designed for easy and precise application. Follow the kit’s instructions regarding the amount of gel to use; generally, a thin layer is sufficient. Be sure to apply the gel evenly to all the visible surfaces of your teeth, including the front and sides. Avoid applying the gel to your gums, as this can cause irritation. If you accidentally get gel on your gums, wipe it away immediately. After applying the gel, gently insert the mouth tray (if provided) to ensure even coverage and to keep your lips away from the teeth. The correct application of the whitening gel is key to achieving uniform whitening across your teeth.
Step 2 Position the LED Light
Once the whitening gel is applied, position the LED light according to the kit’s instructions. The light is usually designed to be held close to your teeth, often resting against the mouth tray. Make sure the light covers all the teeth you want to whiten. The light should be positioned to shine directly onto your teeth, which maximizes the activation of the whitening gel. If the light has an adjustable timer, set it for the recommended duration indicated in your kit. If the device has multiple settings, start with the lowest setting to see how your teeth respond. Correct positioning of the LED light is essential for ensuring that the light effectively activates the whitening gel, leading to the best results.
Step 3 Activate the LED Light
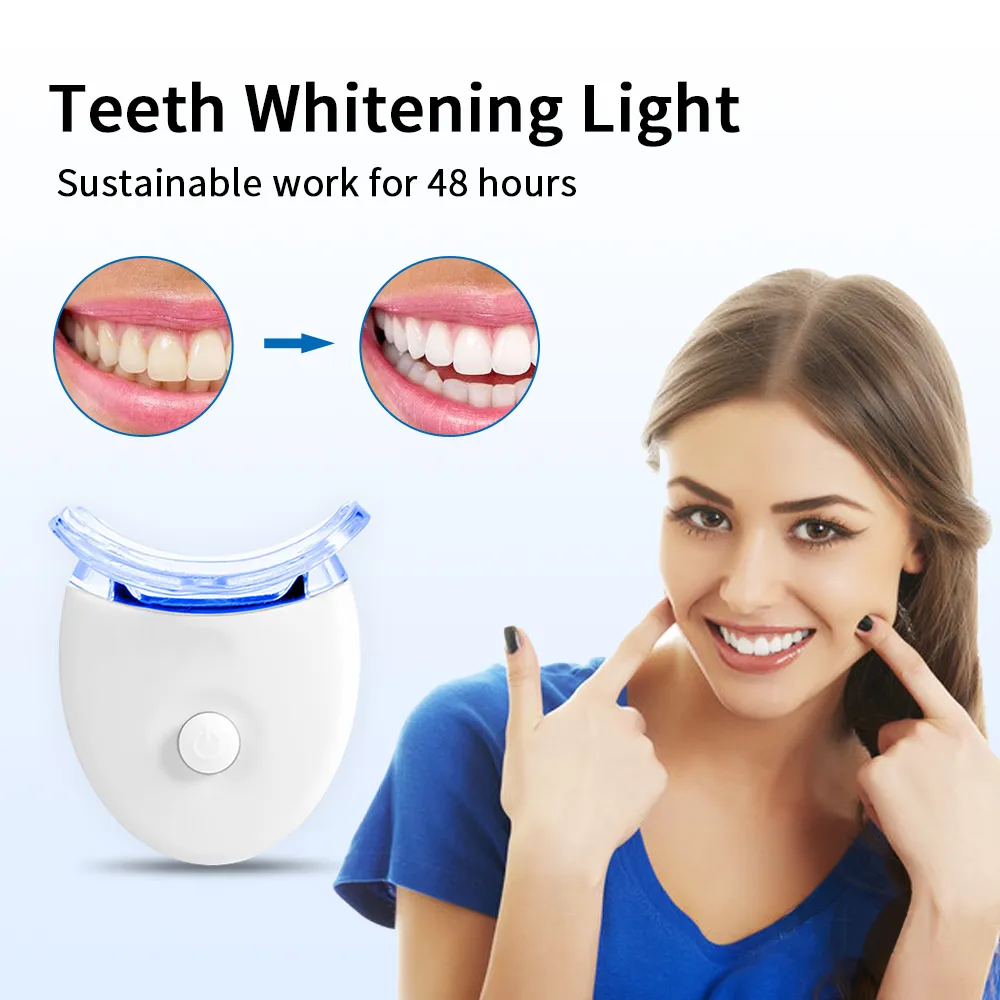
Turn on the LED light and let it work for the duration specified in your kit’s instructions. During this time, it’s best to relax and avoid moving your mouth excessively to maintain the light’s position. The light will emit a blue or sometimes a combination of blue and red light, which activates the whitening gel. This process might cause a slight tingling sensation or mild tooth sensitivity, which is normal. The duration of the treatment varies depending on the product and the desired results, usually ranging from 10 to 30 minutes per session. The activation period is a crucial phase where the light accelerates the chemical process that breaks down stains and brightens your teeth. Be patient and follow the recommended duration for best results.
Step 4 Rinse and Repeat

Once the LED light treatment is complete, carefully remove the light and the mouth tray (if applicable). Rinse your mouth thoroughly with water to remove any remaining gel. Avoid swallowing any residual gel. Inspect your teeth to see if you are satisfied with the results. If your kit allows, you can repeat the process for another session, but always adhere to the maximum usage recommendations to avoid over-whitening and potential side effects. Most kits recommend repeating the treatment once a day for several days, or as per the instructions provided. Cleaning your mouth after each session ensures you remove any residue that could cause irritation and allows you to monitor the progress of your teeth whitening journey.
Post-Whitening Care
After using LED laser teeth whitening light, it’s essential to take specific steps to maintain and protect your newly whitened smile. Avoid consuming staining foods and drinks for at least 24 to 48 hours after each whitening session, as your teeth are more susceptible to staining during this period. Examples of items to avoid include coffee, tea, red wine, dark-colored sodas, and highly pigmented foods such as berries, and soy sauce. Use a gentle toothpaste and soft-bristled toothbrush. Consider using a desensitizing toothpaste if you experience any sensitivity. It is also advisable to schedule regular dental check-ups and cleanings to maintain oral health and prevent future staining. Post-whitening care significantly contributes to the longevity and effectiveness of your teeth whitening treatment.
Maintaining Your Bright Smile
To keep your teeth looking their brightest, implement a consistent oral hygiene routine. Brush your teeth at least twice daily with a whitening toothpaste, and floss daily to remove plaque and debris that can cause staining. Rinse your mouth with an alcohol-free mouthwash to keep your mouth fresh and help prevent staining. Consider using a whitening pen for touch-ups to maintain your desired shade. Regular dental check-ups and professional cleanings will help remove any surface stains and keep your teeth healthy. Limit your intake of staining foods and beverages, and consider using a straw when drinking dark-colored liquids. By following these tips, you can enjoy a long-lasting, radiant smile and maintain the results achieved with your LED laser teeth whitening light.